 GPU
01 / 05 • Hardware
Identify your board
Read the model printed on your Pico. Both boards use the RP2350 bootloader ID, so the printed label determines which image to install.
Photos © Raspberry Pi Ltd. Image credits
02 / 05 • USB connection
Connect in BOOTSEL
- Disconnect the Pico. Leave its GPIO headers empty.
- Hold down the white BOOTSEL button beside the USB connector. Plug the Pico directly into the host with a USB data cable, then release the button.
- Look for a drive named
RP2350containingINFO_UF2.TXT. Keep only the intended Pico attached during the transfer.
Read the bootloader identity
The USB picker can record the chip serial for comparison after reboot. Select the RP2350 in the picker.
Waiting for a bootloader.
No USB picker or mounted volume?
Use desktop Chrome or Edge on HTTPS or localhost for WebUSB. The file-copy method also works without a picker. On Ubuntu, open RP2350 in Files or run lsusb -d 2e8a:000f. If neither finds it, retry BOOTSEL with a known data cable.
03 / 05 • Pico firmware
Install diagnostics
The UF2 replaces the program on the Pico. Save any previous image and application data you want to keep. The GPU stays in its normal PCIe slot.
Choose a board in step 1
USB diagnostics 1.0.0 · 42,496 bytes
Image SHA-256
Choose a board to see its checksum.- Download the matching UF2 to your computer. The guide checks the file’s SHA-256 before offering it.
- In your file manager, copy that UF2 to the identified RP2350 volume. The copy starts the Pico flash.
- Keep USB connected. The boot volume normally disappears when the Pico reboots. Continue to verify the running image.
04 / 05 • Runtime check
Verify the Pico
After reboot, open the picker again and select the diagnostic device. The guide checks its board target and firmware version, then compares its serial with the one read in BOOTSEL.
Waiting for a runtime device.
Verify from Ubuntu
Run lsusb -v -d 2e8a:0009 or ga100ctl --json pico list. Check the same serial and look for ga100ctl/BOARD/1.0.0 in the product string. A generic USB serial device alone is insufficient evidence.
The Pico did not return
Unplug and reconnect it normally, then inspect the USB listing again. To recover a prior application, enter BOOTSEL and copy your saved board-compatible UF2 to RP2350.
05 / 05 • GPU inventory
Inspect your card
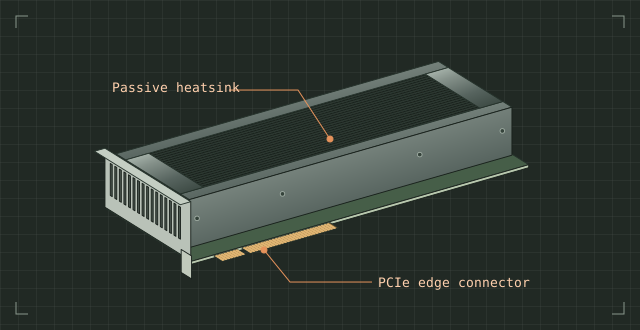
On the Ubuntu host with the CMP 170HX installed and cooled, record its identity before any changes. This toolkit reads the GPU through PCIe. Its firmware images target the Pico only.
Install the host tool
Download the ga100ctl 0.1.0 wheel. In its download directory, run these commands with Python 3.10 or newer.
python3 -m venv .venv
. .venv/bin/activate
python -m pip install ./ga100ctl-0.1.0-py3-none-any.whl
ga100ctl doctor
ga100ctl gpu list
Capture the baseline
Replace PCI_ADDRESS with the full address from the listing. Save the reported card ID, event ID and physical label together. If the driver supplies no stable identifier, include --asset-tag YOUR_LABEL on each inspection.
ga100ctl gpu inspect --gpu PCI_ADDRESS
ga100ctl --json report --card CARD_ID > baseline.json
GPU firmware flashing requires a card-specific image, compatibility checks and a recovery procedure. Those are currently unavailable in GPUglitch.